Jennie's Blog Posts
Giveaway!!
It has been a little while since last posted!! So sorry for the absence.
For my readers (anyone still out there?) leave a comment and I will be holding a drawing in a week Cinco De Mayo? For some free sculpting goodies!!
For raffle: a baby sculpting dvd, sculpting tools and of course, my favorite clay- Prosculpt in the shade baby!!
painting your baby
I have had a ton of questions on this topic. How do you paint a realistic skin tone? Well, it takes a bit of work. I paint at least four to five layers- a smaller version of reborning.
If you are a newbie- reborning is when you take a blank vinyl doll and paint tons of realistic layers to result in a realistic looking baby doll.
Soooo… Where are my fave free tutorials??
Well, there are two that stand out for me.
The first is Andrea’s free tutorial on doll fan
Here is the result:
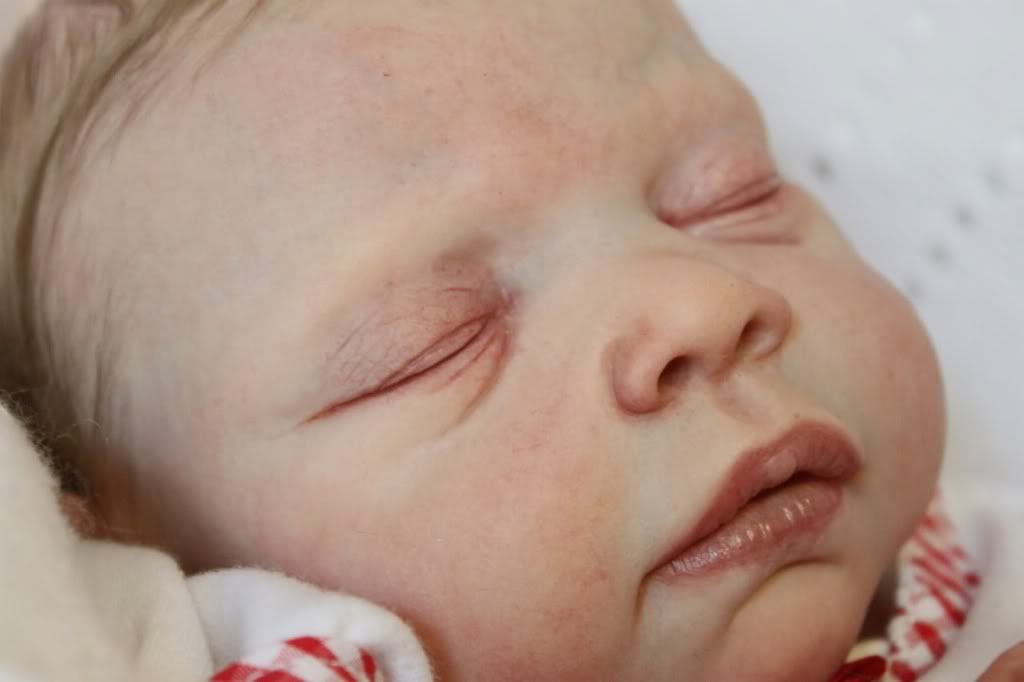
Gorgeous!!
Next is the lovely Nicole Russell’s facebook page “Learning to Reborn the Beautiful Way” (you need to be logged on to facebook to view this link).
Take a look at her painting!!
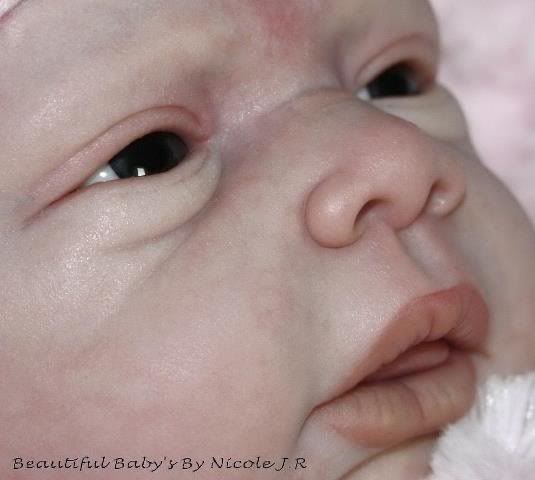
Now I have had much trial and error on this subject, and learning from my experiences have resulted in a way of painting that works for me. I suggest trying on your own and see what works for you too, but here are some things I do for your reference.
1) I do not paint a flesh layer. This results in a mask like look; because this isn’t a vinyl piece you are painting but a clay piece that has pigment of it’s own. If there are any blemishes to cover I simply paint only that area and BLEND!!
2) A seasponge is my best friend. You can buy these at your local craft store. Use it for realistic looking pores.
3) While I love the look of Genesis paint; I find it too troublesome to bake between each layer. I use a air dry paint like LDC (google LDC air dry paints). A little goes a long way! Best of all, you can use water as a thinner instead of mineral spirits or similar chemical thinners.
4). When painting veins and blueness for thin skin effect- lighter is better!! Too heavy makes the baby look scary. By scary I mean “not alive”. 😉 If you do paint too heavily you will have to remove all layers and start over!
5) Take your time!!! Your work will reflect it in the end. Especially when you are just learning how to paint.
As always, I am here for questions. Just leave a comment!!
root there it is!
Sorry for the lack of posting guys- I have been undergoing alot of physical therapy and it has been pretty crappy. 😉
But anyhow, we must get better- no pain no gain!!
Poor little Katelyn’s mom last minute decided she couldn’t afford her so I posted her up for a buy it now price on ebay instead. She will be on ebay for a week.
On sculpting news, I received a couple of emails asking how I apply hair on my sculpts.
I simply rub a sculpting oil on the top of the head and imbed the mohair into the newly softened clay. Now remember- if it is a newborn baby don’t add too much mohair! It must be sparse. Also pay attention to hairlines of the month of baby you are trying to achieve.
If you are curious about rooting hair into a clay baby- here is a great tutorial!
Here’s a screenshot:
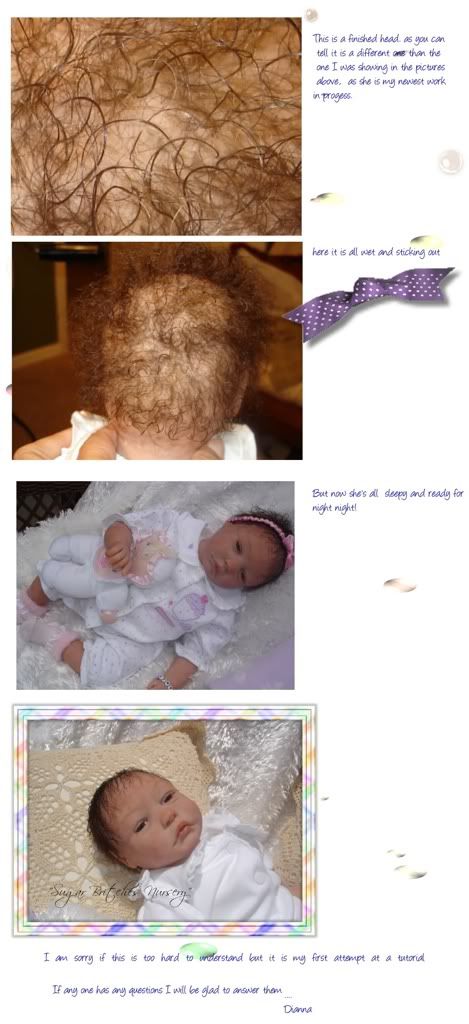
The best part of a rooted baby head is that it is brushable and stylable!! The only caveat is that it is harder to make a newborn sparse head of hair without looking like hair plugs. 🙂
Here’s the link on the tutorial!!
adopt katelyn!! 🙂
Little Katelyn is finally up for adoption. (Her auction starts on February 29th at noon). She will be up for five days!! I apologize for the delay, I was having issues with her auction listing. It’s been so long since I made one!
I hope she finds a good mommy who will love her! It was kind of difficult to think about letting her go! 🙂

I love this photo:

Please cheer her on! 🙂
Her auction is here:
http://cgi.ebay.com/ws/eBayISAPI.dll?ViewItem&item=130656691168#ht_12429wt_932
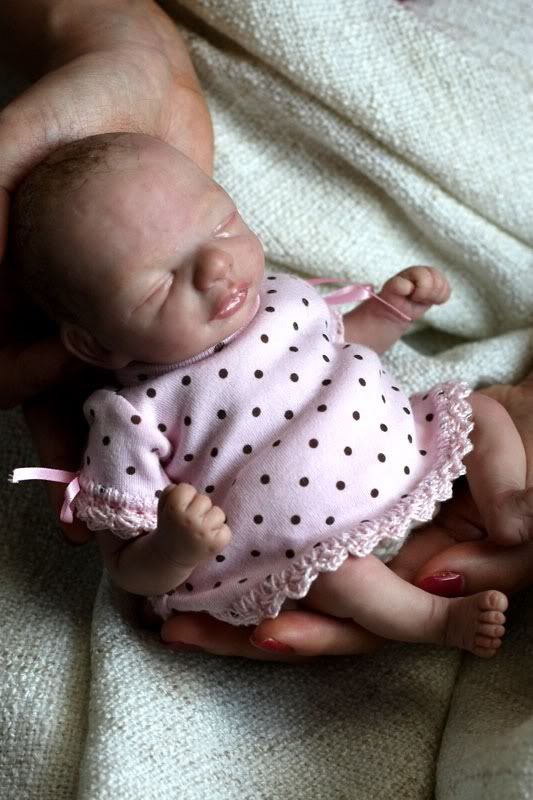
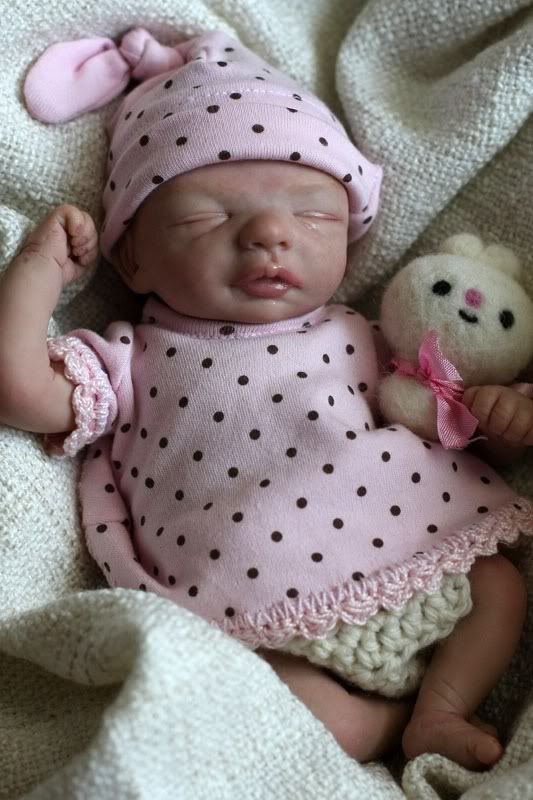
introducing katelyn!
This little girl is going to ebay finally tomorrow!
I have named her little katelyn seems like she suits that name no?
Anyhow, here are some photos of her before I list her tomorrow!
